
HomeThe Best 3-Ingredient Low Carb Baked Egg Custard: Creamy, Dreamy, and Guilt-Free in Just 40 Minutes
The Best 3-Ingredient Low Carb Baked Egg Custard: Creamy, Dreamy, and Guilt-Free in Just 40 Minutes
There’s a certain kind of magic in desserts that feel indulgent but don’t leave you weighing the cost—on your waistline or your peace of mind.
This Low Carb Baked Egg Custard is exactly that kind of magic.
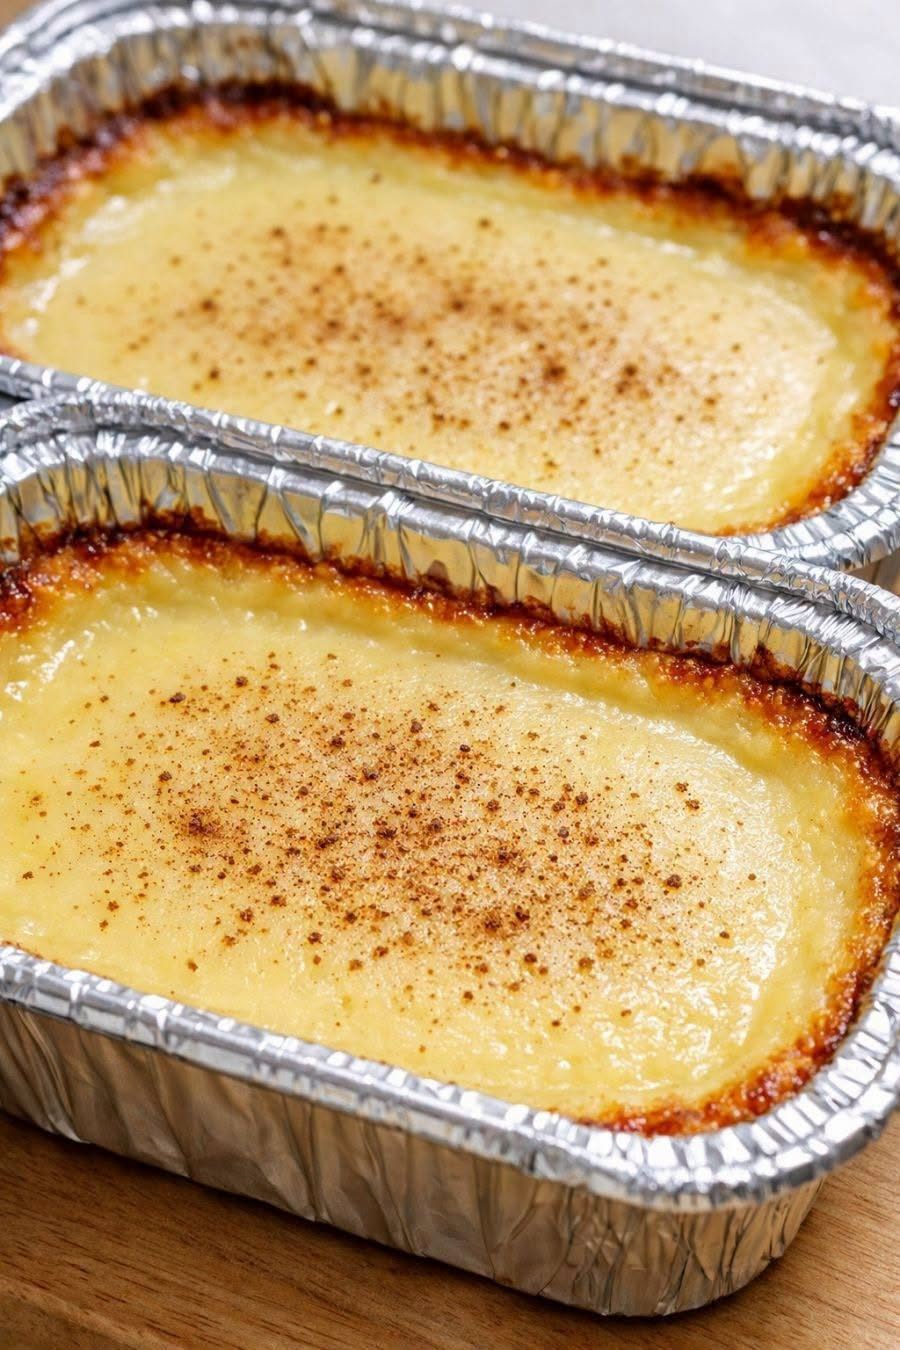
Imagine a silky, vanilla-kissed custard that melts on your tongue, with the rich comfort of crème brûlée but none of the fuss. No tempering eggs. No water bath anxiety. Just three simple ingredients, a hot oven, and 40 minutes until you’re diving into something warm, creamy, and deeply satisfying.
I first tasted a version of this at my grandfather’s kitchen table—a humble dessert made with whatever was in the pantry. He didn’t call it “keto” or “low carb.” He just called it “good.” And it was.
Now, I’ve refined his simple formula into a recipe that fits modern goals without losing that old-world comfort. Whether you’re managing blood sugar, following a low-carb lifestyle, or just craving something sweet that won’t weigh you down, this custard is about to become your new secret weapon.
Let’s make something beautiful—together.
Why This Custard Is a Low-Carb Dream
Most “healthy” desserts try too hard. They’re packed with weird flours, artificial sweeteners that leave a chalky aftertaste, or so many steps you need a flowchart to follow.
Not this one.
Here’s what makes this recipe special:
✨ Truly three ingredients: Eggs, heavy cream, and a sugar-free sweetener. That’s it. No hidden carbs, no confusing additives.
✨ Naturally low sugar: With zero added sugar and just 2-3g net carbs per serving, it fits seamlessly into keto, diabetic-friendly, or low-glycemic lifestyles.
✨ High protein, high satisfaction: Eggs and cream deliver quality protein and healthy fats that keep you full and happy—no sugar crash later.
✨ Effortless elegance: No fancy equipment, no stress. Just mix, pour, bake, and enjoy.
This isn’t just a dessert. It’s proof that simple can be spectacular.
Ingredients You’ll Need (Yes, Just 3!)
One of the most beautiful things about this recipe is its simplicity. Here’s your shortlist:
The Core Trio
4 large eggs, room temperature: The foundation of our custard’s silky texture.
Tip: Room-temperature eggs blend more smoothly. Take them out of the fridge 20-30 minutes ahead.
2 cups heavy cream (or whipping cream): Creates that luxurious, melt-in-your-mouth richness.
Substitute: For a lighter version, use half-and-half, though the custard will be less thick. For dairy-free, full-fat canned coconut milk works beautifully (adds a subtle tropical note).
⅓ cup granulated erythritol or monk fruit sweetener: Measures cup-for-cup like sugar with zero impact on blood sugar.
Substitute: Stevia blend (check conversion ratio), allulose, or a pinch of xylitol. Avoid liquid sweeteners—they can throw off the texture.
Optional Flavor Boosters (Because Why Not?)
1-2 teaspoons pure vanilla extract: Adds warmth and depth. Don’t skip the good stuff!
Pinch of salt: Enhances sweetness and balances richness.
Ground cinnamon or nutmeg: A light dusting on top before baking adds cozy spice notes.
Step-by-Step Instructions (So Simple, You’ll Make It Weekly)
1. Prep Your Oven and Dish
Preheat your oven to 325°F (165°C). Lightly grease a 9-inch pie dish or four 6-oz ramekins with butter or coconut oil. No need for a water bath—this custard sets beautifully without one.
2. Whisk the Eggs and Sweetener
In a medium bowl, whisk the eggs and your chosen sweetener together until smooth and slightly frothy. Don’t over-whisk—just until combined. If using vanilla or salt, add it now.
3. Gently Fold in the Cream
Slowly pour in the heavy cream while whisking gently. Stir just until the mixture is uniform. Avoid creating too many bubbles—if you do, let the custard base sit for 5 minutes or skim the foam off the top for a silkier finish.
4. Pour and Bake
Pour the custard mixture into your prepared dish(es). If using ramekins, place them on a baking sheet for easy transport.
Bake for 35-40 minutes (25-30 for ramekins), until the edges are set but the center still has a gentle wobble—like Jell-O. It will firm up as it cools.
Pro tip: Don’t overbake! Custard continues to cook from residual heat. Pull it when it’s just set.
5. Cool and Serve
Let the custard cool at room temperature for 15-20 minutes, then refrigerate for at least 1 hour if you prefer it chilled—or enjoy it warm for ultimate comfort.
Before serving, dust with cinnamon, add a few berries, or top with a dollop of whipped cream if you’re feeling fancy.
Tips for Silky-Smooth Custard Every Time
🔹 Strain for perfection: For an ultra-smooth texture, pour the custard mixture through a fine-mesh sieve before baking to catch any stray egg bits.
🔹 Watch the oven temp: Too hot, and the custard can curdle. Use an oven thermometer if your oven runs warm.
For Complete Cooking STEPS Please Head On Over To Next Page Or Open button (>) and don’t forget to SHARE with your Facebook friends
ADVERTISEMENT

