
5. How to Prepare the Mixture Safely in Just a Few Minutes
Start by filling a clean watering can or container with one gallon of room-temperature water. Add 1 tablespoon of Epsom salts and 1 teaspoon of chelated iron to the water. Stir the mixture thoroughly until both the salts and iron are completely dissolved.
Ensure that the mixture is homogenous to avoid any concentrated spots that might lead to nutrient burn. Once the solution is prepared, it’s ready to be applied to your peace lily’s soil.
6. The Right Way to Pour It Into Peace Lily Soil for Maximum Uptake
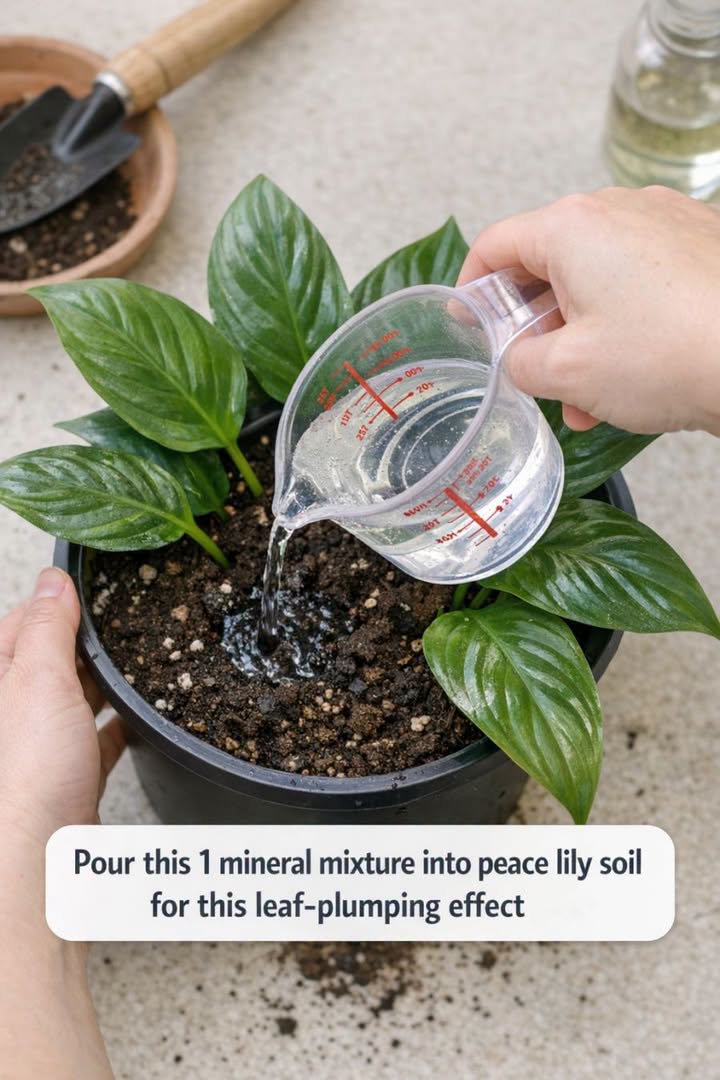
Water your peace lily thoroughly with plain water first to ensure that the soil is evenly moist. This step helps prevent nutrient shock when applying the mineral mixture. After the initial watering, slowly pour the mineral mixture into the soil around the base of the plant, ensuring even distribution.
Allow the mixture to soak into the soil, avoiding direct contact with the leaves, as this can cause leaf burn. The goal is to help the roots absorb the nutrients efficiently, promoting healthier, plumper leaves.
7. How Often to Use the Mixture Without Overloading Your Plant
To avoid overloading your peace lily with nutrients, apply the mineral mixture once every four to six weeks. This frequency ensures that the plant receives a steady supply of magnesium and iron without causing nutrient toxicity.
Keep an eye on your plant’s response after each application. If you notice any signs of nutrient burn, such as browning leaf tips or edges, reduce the frequency of application to once every eight weeks.
8. Visual Signs It’s Working: From Limp to Lush, Step by Step
After applying the mineral mixture, you should start to see noticeable improvements in your peace lily within a week. Initially, the leaves will appear more vibrant and have a firmer texture. Over the following weeks, the plant’s overall posture should improve, with the leaves standing more upright and appearing plumper.
Additionally, you may notice an increase in new growth, indicating that the plant is responding positively to the enhanced nutrient availability. The glossy sheen of the leaves is a good indicator that the peace lily is thriving.
9. Common Mistakes to Avoid With This Mineral Hack
One common mistake is applying the mineral mixture too frequently, which can lead to nutrient burn and damage the plant. It’s essential to adhere to the recommended application schedule. Another mistake is failing to water the plant before applying the mixture, which can cause uneven distribution and absorption of the nutrients.
Additionally, avoid pouring the mixture directly onto the leaves, as this can cause leaf burn. Always apply the solution to the soil to ensure that the roots can absorb the nutrients efficiently.
10. Extra Care Tweaks That Supercharge the Leaf-Plumping Effect
To enhance the leaf-plumping effect, consider adjusting other care routines for your peace lily. Ensure that the plant is receiving adequate indirect sunlight, which is crucial for photosynthesis and overall health. You might also want to increase humidity levels around the plant, as peace lilies thrive in humid environments.
Misting the leaves regularly or placing a humidifier nearby can help maintain optimal humidity. Additionally, rotate the plant every few weeks to ensure even light exposure and promote balanced growth.
11. When to Skip the Mix and Try a Different Fix for Your Peace Lily
There are situations where the mineral mixture might not be the best solution. If your peace lily is exhibiting signs of over-fertilization, such as yellowing leaves or a white crust on the soil surface, it’s best to skip the mixture and focus on flushing the soil with plain water to remove excess salts.
In cases where the plant is suffering from severe root rot due to overwatering, addressing the root health by repotting in fresh, well-draining soil is crucial before considering any nutrient application. Always assess the specific needs and condition of your plant before deciding on a treatment approach.
ADVERTISEMENT

